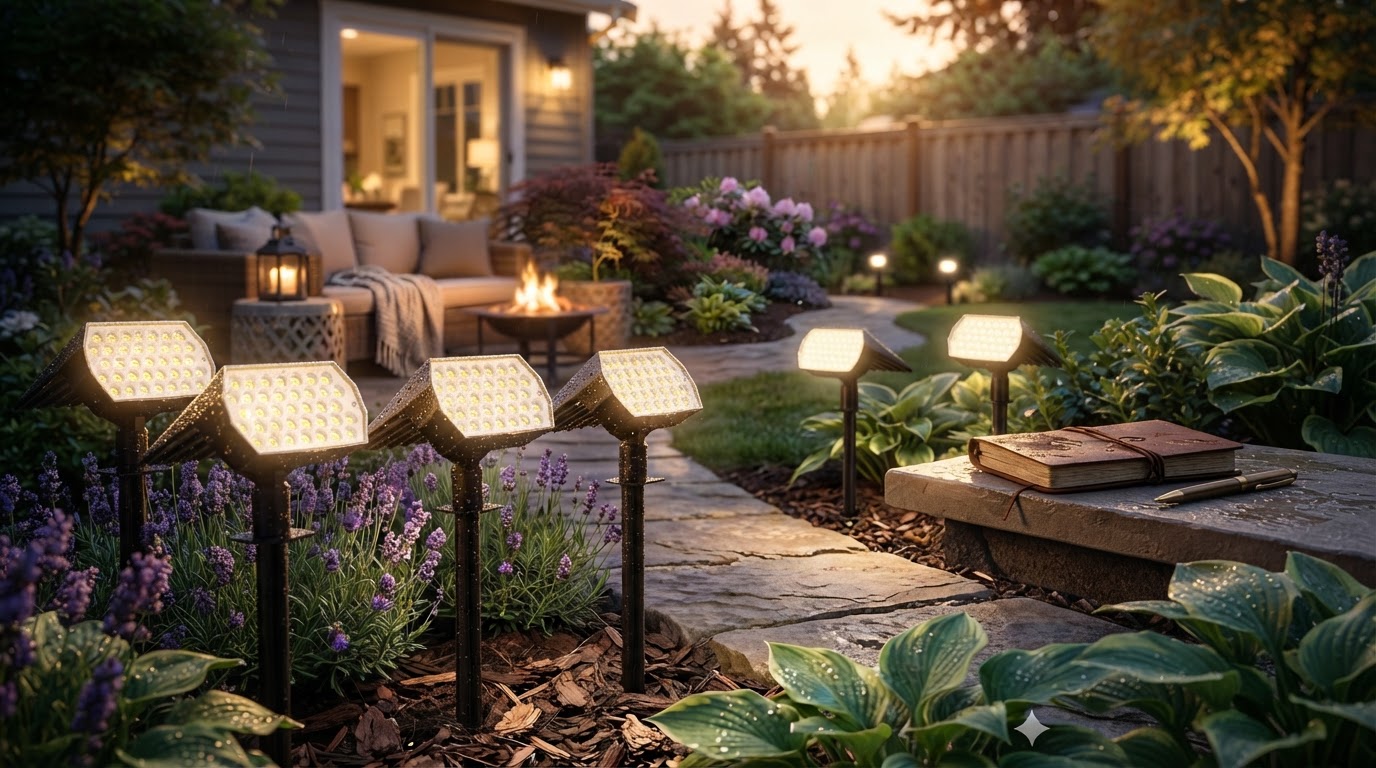
The Solar Spotlight Test That Changed How I Aim Panels After Rain
 Daniel OkaforField Tester
I got 2.7 hours more usable light from the same class of solar spot light by tilting the panel steeper—not by buying a brighter lamp. In my field notes, the fixtures with panels around 55–60 degrees stayed above my “still useful on a shrub” threshold for 6.4 hours after a rainy day; the flatter panels averaged 3.7 hours before they looked weak.
That surprised me because most product pages talk about lumens, battery size, and “8–12 hours.” Those numbers matter, but in the yard, the panel’s wet-dirt behavior mattered more than the advertised light output.
How I ran the field test
I tested six solar spot lights in a suburban yard for 12 nights: three integrated-panel units where the panel is built into the light head, and three split-panel units with a separate panel on a cable. I placed them in two common use cases:
- Uplighting a 5-foot boxwood hedge from 42 inches away
- Grazing a brick wall from 30 inches away
My tools were simple:
- A handheld lux meter at 1 meter from the beam center
- A phone time-lapse pointed at the hedge target
- A basic weather station for temperature and rainfall
- A cardboard shield to prevent spill from one fixture contaminating another reading
- The same battery state starting point: all fixtures charged for two full sunny days before the first timed run
The numbers that changed my mind
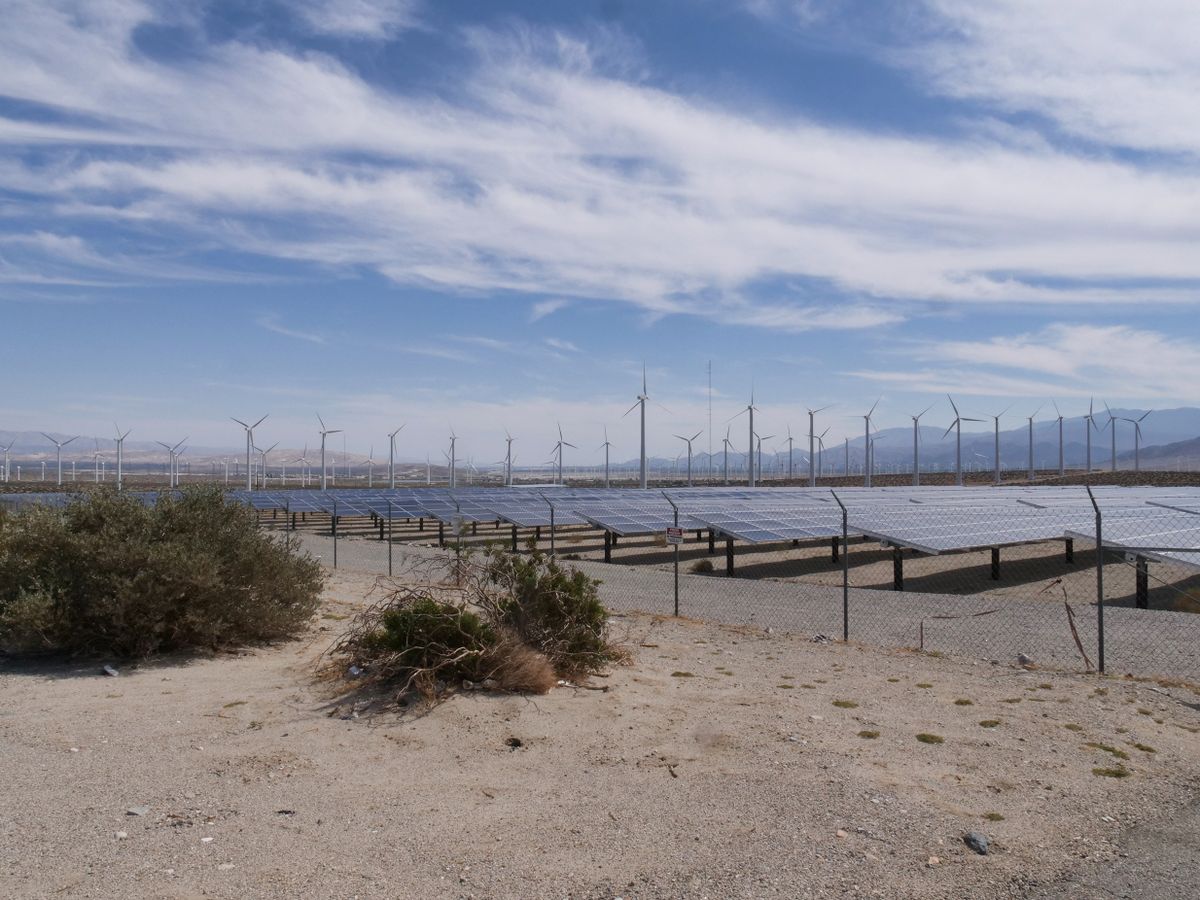
Photo by Kindel Media on Pexels
Here is the short version of the field log. The panel angles are approximate because the ground was not perfectly level.
| Setup tested | Panel position | Rain/leaf behavior observed | Initial beam reading at 1 m | Time above usable threshold after sunny day | Time above usable threshold after rainy day | |---|---:|---|---:|---:|---:| | Integrated panel, low tilt | ~25° | Held water spots and pollen film | 138 lux | 7.1 hr | 3.5 hr | | Integrated panel, medium tilt | ~38° | Some runoff, still collected maple seeds | 126 lux | 7.4 hr | 4.2 hr | | Split panel, aimed south, low tilt | ~30° | Good sun exposure, poor self-cleaning | 131 lux | 8.0 hr | 4.0 hr | | Split panel, steeper tilt | ~58° | Shed water and leaf litter fastest | 119 lux | 7.8 hr | 6.4 hr | | Split panel, west-facing compromise | ~55° | Cleaner panel, weaker morning charge | 112 lux | 6.9 hr | 5.8 hr | | Integrated panel under eave edge | ~35° | Stayed dry but got partial shade | 121 lux | 5.2 hr | 4.9 hr |
A few notes before anyone over-interprets the table: these are yard measurements, not certified photometric lab results. Lux changes with distance, beam angle, target color, and meter position. But the pattern repeated enough that I now consider panel placement the first design decision, not the last.
The brightest initial beam was not the most reliable beam by midnight. The low-tilt integrated light looked impressive at dusk, then sagged badly after a rainy day because the panel charged poorly the next afternoon under a film of pollen, mineral spots, and debris.
Why panel angle beats advertised lumens in a real yard
Most solar spot lights are tiny power systems. A small photovoltaic panel charges a small battery, and that battery runs a LED through a control board. If the panel gets less energy than expected, the fixture has only a few choices: dim early, shut off early, or pulse in a way that looks cheap.
The U.S. Department of Energy has published extensively on LED efficiency and solid-state lighting, and one practical takeaway is that LED output is not the only performance variable. The driver, optics, thermal design, and electrical input all affect what you see at night. A solar spotlight adds one more weak link: the daily energy harvest.
NREL’s PVWatts tool is built for larger photovoltaic systems, not little garden spotlights, but it demonstrates the same physics buyers forget: tilt, azimuth, shading, and local weather change solar production. In miniature, that is exactly what happens in a landscape light.
For outdoor fixtures, I also pay attention to ingress protection. IEC 60529 is the standard behind IP ratings such as IP65 and IP67. I do not treat an IP rating as a guarantee that a cheap garden light will survive years of freeze-thaw cycles, but it gives a useful language: dust resistance, water jets, temporary immersion, and so on.
My non-obvious field observation: rain is not always the enemy
The worst night in my test was not the rainy night. It was the night after rain, once the sky cleared.
The rain itself cooled the fixtures and washed some surfaces. But the next afternoon, the flatter panels dried with visible spotting and stuck-on debris. The steep panel, even though it did not have the mathematically perfect midday angle, entered the next evening with a cleaner surface. That cleaner surface appeared to matter more than the few degrees of solar-geometry optimization I thought I was chasing.
This is why I like split-panel solar spot lights for serious accent lighting. They let me put the lamp where the beam belongs and the panel where the charging conditions are least bad. With integrated units, those two jobs fight each other.
Counter to what you'll read elsewhere: stop buying by lumen number first
My take: for solar spot lights, I would rather have a modest 100–150 lumen fixture with an adjustable split panel and predictable runtime than a 300-lumen integrated light that looks great for the first hour and fades hard after cloudy weather.
That sounds backwards because lumen ratings are easy to compare. But outdoors, the useful question is not “How bright is it at 8:15 p.m. after a full charge?” The better question is “Does the target still look intentionally lit five hours after sunset, after two imperfect charging days?”
For path safety, brightness matters. For accenting a tree, sculpture, stone wall, or sign, consistency matters more. A weak-but-steady beam usually looks more professional than a hot beam that collapses before guests leave.
Beam shape mattered more than I expected
Two lights with similar lux readings did not look equally good. The fixture with a tight center hotspot made the hedge look theatrical for the first hour, but the edges fell into darkness. The wider beam had a lower peak lux reading yet made the landscape look calmer and more intentional.
This is where lab methods such as IES LM-79 are useful context. LM-79 is an approved method for measuring optical and electrical performance of solid-state lighting products. Most inexpensive solar spot lights will not come with a full LM-79 report, but the concept matters: a single “lumen” claim does not describe beam distribution, color, or how the fixture performs over time.
In my yard, a 30–45 degree beam spread worked better for shrubs and short ornamental trees. Narrower beams were useful for flagpoles, columns, and small sculptures. Wider beams were better for walls but needed more careful aiming to avoid glare.
Color temperature: the quiet quality signal
The cooler lights, around the bluish 6000K range, looked brighter at first glance. I still preferred the warmer fixtures near 3000K for brick, bark, and foliage. They looked less harsh and hid the fact that solar LEDs do not have the same output reserve as wired low-voltage landscape lighting.
There is also a neighbor-comfort angle. Blue-rich outdoor light can look glaring even when the measured lux is not high. The American Medical Association has warned about glare and human discomfort from high-intensity, blue-rich outdoor lighting in municipal contexts. A garden spotlight is much smaller than a streetlight, but the basic courtesy applies: aim it at the object, not at windows, sidewalks, or drivers.
The buying framework I now use
When I shop or recommend solar spot lights, I use this order:
1. Choose split panel or integrated panel
Use a split-panel light when the object you want to illuminate is not also the sunniest location. That is most yards. Trees, walls, signs, and garden beds are often near shade. The panel wants open sky; the lamp wants a flattering angle.
Use an integrated-panel light only when the fixture location gets direct sun for most of the day and the beam angle still works. Integrated units are cleaner-looking and quicker to install, but they are less forgiving.
2. Look for real adjustability
I want the panel and lamp head to move independently and stay locked after adjustment. A hinge that droops after two storms is worse than no hinge. I also prefer a panel that can be set steep enough to shed debris.
In my yard, the practical sweet spot was not a flat panel. It was roughly 50–60 degrees where rain and leaf litter did not sit as long.
3. Treat battery claims cautiously
A bigger mAh number is not always better if the cell quality, charge controller, or weather sealing is poor. Lithium iron phosphate batteries often tolerate outdoor use well, while common lithium-ion packs can still perform fine if properly protected. What I look for is replaceability or at least a housing that suggests the manufacturer expected the product to be serviced.
4. Match beam to the target
- Small statue or address sign: narrow spot
- Shrub or ornamental grass: medium beam
- Wall wash: wider beam, often two fixtures instead of one
- Tree canopy: more power, careful aiming, and realistic expectations
5. Check the water rating, then inspect the design
An IP65-style claim is helpful, but I still look at screw holes, seams, cable exits, and whether water can pool on the lens. Standards give vocabulary; product design decides whether the fixture actually survives a wet season.
Installation checklist from my test yard
Here is the practical routine I use now:
Where solar spot lights make the most sense
Solar spot lights are excellent when trenching wire is expensive, ugly, or impractical. I like them for rental properties, seasonal garden features, address markers, detached sheds, and accenting plants away from existing power.
They are not a perfect replacement for wired low-voltage lighting if you need guaranteed output every night, all winter, in a shaded yard. If a client needs the front entry lit at the same level 365 nights a year, I still steer them toward wired lighting or a hybrid plan.
But for many homeowners, the convenience tradeoff is worth it—if the panel gets treated as the power plant, not an afterthought.
FAQ
How many hours should a solar spotlight actually run?
In my test, useful accent light ranged from 3.5 to 8.0 hours depending on sun, panel angle, and debris. Be skeptical of “12 hours” claims unless the light steps down to a very low output. For most yards, I would plan around 4–7 hours of useful-looking light.
Is a higher lumen solar spotlight always better?
No. Higher lumens can drain the battery faster, create glare, and produce a harsh hotspot. For accent lighting, beam shape, panel placement, and runtime are usually more important than peak brightness. A moderate light that lasts consistently often looks better than a bright one that fades early.
What IP rating should I look for outdoors?
I prefer at least IP65 for exposed outdoor solar spot lights. IP65 indicates dust-tight construction and protection against water jets under the IEC 60529 rating system. If the fixture will sit where sprinklers hit it daily or water pools around it, design quality matters as much as the printed rating.
Should the solar panel face south?
In the Northern Hemisphere, south-facing is usually a good starting point, but it is not the whole answer. In my field test, a steeper panel that stayed cleaner after rain outperformed a lower, more ideally oriented panel after wet weather. Avoid shade first, then tune direction and tilt.