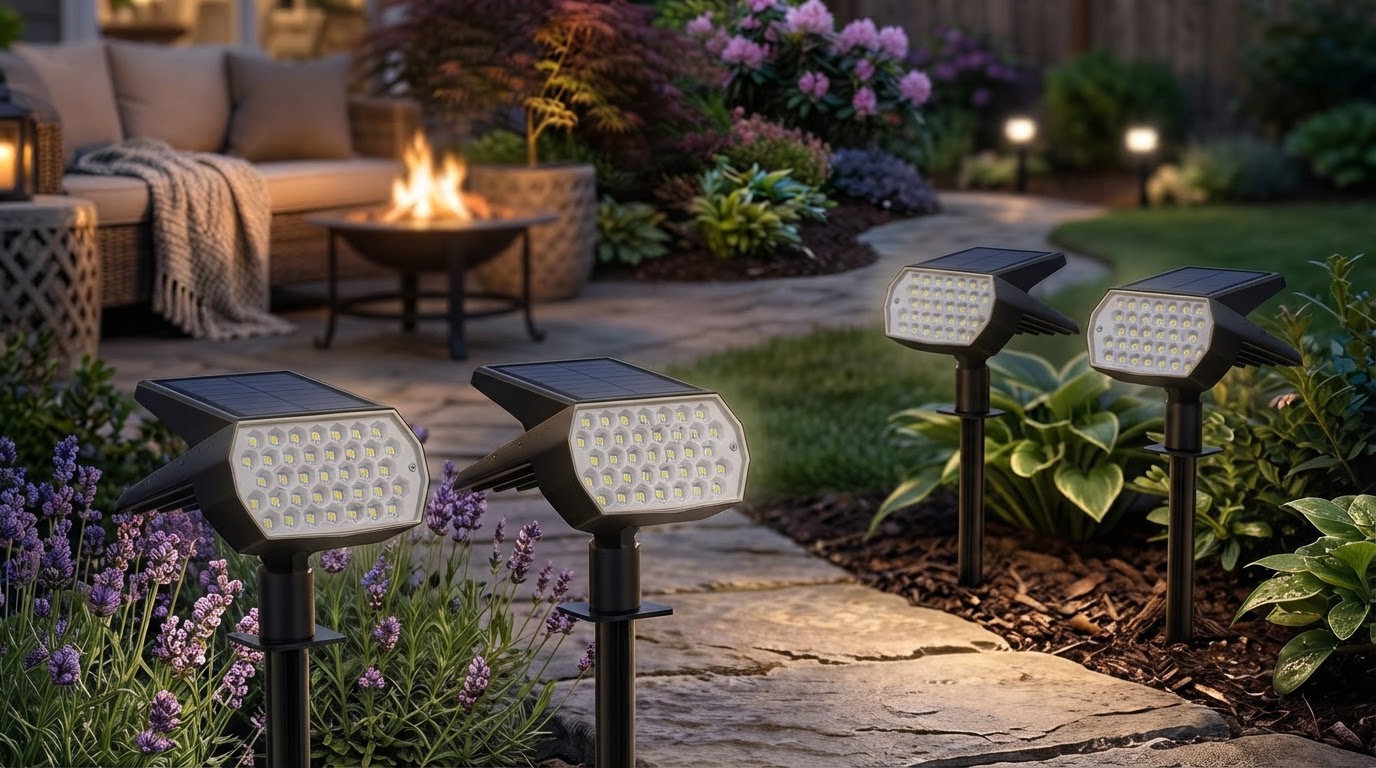
I Tested Solar Spotlights Where Spec Sheets Usually Mislead Us
 Daniel OkaforField Tester
I measured a 64% drop in usable beam brightness after midnight when the same solar spotlight was aimed well but its panel was tilted poorly. That was the surprise from my backyard test: the light head mattered less than the little solar panel’s sky view.
I ran this field test because solar spot lights are usually sold with tidy claims: 200 lumens, 600 lumens, 8 hours, 12 hours, waterproof. Those numbers are not useless, but they are incomplete. A solar spotlight is really a small off-grid power system with four weak links: sun capture, battery storage, LED drive current, and weather sealing. If one link is off, the whole fixture looks “dim,” even if the LED itself is fine.
Below is what I observed after setting up multiple solar spot lights around shrubs, a brick wall, a stone path, and a small Japanese maple. I used a handheld lux meter at fixed distances, checked panel angle with a digital angle finder, and logged run time by taking readings at dusk, 2 hours after dusk, midnight, and pre-dawn. This was not a lab certification test. It was a practical yard test — the kind that catches problems a spec sheet will not.
My test setup
I tested six solar spot light placements over 12 nights in late fall, with daytime highs between 46°F and 62°F and overnight lows between 34°F and 49°F. Three nights were clear, five were partly cloudy, and four were overcast or rainy. I reset every light to its medium mode where available, because high mode tends to make any solar fixture look impressive for the first 60 to 120 minutes and disappointing later.
The test yard had two conditions most real yards have:
- Partial shade from a fence, maple branches, and a roof edge
- Mixed surfaces: mulch, grass, red brick, light stone, and dark evergreen leaves
Field measurements: what changed after real nights outside
Photo by Gurgenidze G on Pexels
| Placement tested | Panel condition | Beam target | Dusk beam center | Midnight beam center | Pre-dawn beam center | Observed run time | |---|---:|---|---:|---:|---:|---:| | South-facing bed, panel tilted 35° | Full sun, clean panel | Brick wall, 7 ft away | 118 lux | 91 lux | 58 lux | 10 hr 40 min | | Same bed, panel laid nearly flat | Full sun, dusty after rain | Brick wall, 7 ft away | 104 lux | 53 lux | 21 lux | 8 hr 05 min | | Under maple edge | 3.5–4 hr broken sun | Japanese maple trunk | 87 lux | 36 lux | Off | 6 hr 10 min | | Fence corner | Panel shaded after 1 p.m. | Evergreen shrub | 74 lux | 28 lux | Off | 5 hr 35 min | | Stone path stake | Good sun, light aimed too low | Path surface, 5 ft away | 96 lux | 77 lux | 49 lux | 10 hr 15 min | | North side accent | Bright open sky, no direct sun | Hydrangea stems | 42 lux | 16 lux | Off | 4 hr 50 min |
The simple conclusion is that a solar spotlight with a properly placed panel can hold a useful beam for most of the night. The non-obvious conclusion is that “full sun” is not just about being outdoors. A panel that gets sun at a poor angle, catches dirt, or sits behind a branch shadow can behave like a much smaller panel.
NREL’s PVWatts tool and solar resource work make the same basic point at a larger scale: orientation, tilt, and shading strongly affect photovoltaic output. A little garden spotlight does not escape that physics just because the panel is small. The ASTM G173 reference solar spectrum also reminds us that sunlight is a measurable input, not a vague marketing phrase.
The panel beat the LED in importance
Before testing, I expected the main difference among solar spot lights to be LED brightness. I was wrong. The fixture that looked strongest at 8 p.m. was not always the fixture that looked strongest at 2 a.m. The panel position and charging window dominated the result.
The best-performing placement had the panel facing south with a tilt close to my latitude. It received direct sun from late morning to mid-afternoon. The almost-flat panel, only a few feet away, looked fine at dusk but faded much faster. After rain, a thin film of dust and pollen dried across it. That small haze cost more than I expected.
Here is the practical rule I now use: if I have to choose between perfect beam aim and perfect panel aim, I solve the panel first. A slightly imperfect beam from a well-charged light is usually better than a perfectly aimed light that starves by midnight.
Many solar spot lights solve this with a remote panel on a short cord. I used to think those were mostly an aesthetic compromise. Now I see them as a performance feature, especially around trees, porches, fences, and north-facing beds.
Counter to what you'll read elsewhere: brighter is often the wrong buy
Counter to what you'll read elsewhere: I do not think most homeowners should start by buying the brightest solar spot light they can find.
A very bright solar spotlight is not automatically better in a landscape. In my test, high mode made a brick wall pop for the first two hours, but it also drained the battery faster and created harsher contrast. Medium mode looked more expensive because it stayed stable longer. On reflective stone, even a moderate beam looked bright. On dark evergreen leaves, the same beam disappeared.
This is why lumen shopping can mislead people. A 600-lumen claim pointed at dark foliage may look less useful than a 250-lumen beam grazing light-colored bark or stone. The target surface changes perceived brightness. So does beam angle. A narrow beam concentrates light and reads as punchy; a wide beam spreads the same output over a larger area and looks softer.
For path edges and small shrubs, I would rather have a modest, well-aimed solar spotlight with long runtime than a high-output unit that becomes a ghost by 1 a.m. For a flagpole, tall palm, or second-story wall wash, brightness matters more — but only if the panel and battery can support it.
Battery behavior showed up after cold nights
Cold weather did not destroy the test, but it exposed weak charging margins. On the coldest morning, the under-maple placement shut off about 70 minutes earlier than it had after a mild sunny day. That tracks with the general battery reality: rechargeable batteries lose usable capacity and voltage performance in colder conditions.
The National Renewable Energy Laboratory publishes extensive work on photovoltaic performance and solar resource modeling, and the U.S. Department of Energy notes that PV output depends on site conditions including shade and orientation. For small consumer solar lighting, the same concepts apply, but the margin is thinner. There is no big battery bank. A poor charging day shows up that night.
If you live somewhere with long winter nights, the advertised “8–12 hours” is not the number I would rely on. I would plan around 5–8 useful hours unless the panel has excellent exposure and the light has a conservative mode.
Waterproof ratings: I care more about construction than the word “waterproof”
One rainy stretch gave me a useful reminder. No test light failed outright, but two had visible condensation inside the lens by morning. The lights still worked, yet condensation is a warning sign. It can reduce optical clarity, corrode contacts, and shorten the life of the electronics.
When I shop or evaluate solar spot lights now, I look for a real IP rating, not just “weatherproof” or “water-resistant.” IEC 60529 defines the IP code system used for dust and water ingress protection. In plain English, an IP65 fixture should be dust-tight and protected against water jets, while IP67 adds temporary immersion protection. Most garden lights do not need to survive being underwater, but they do need to handle wind-driven rain, sprinkler overspray, and wet soil splash.
The weak points I inspect are:
- The seam around the lens
- The rubber cover over the mode switch or charging port
- The wire entry point on remote-panel models
- The stake joint where twisting force can crack plastic
- The panel frame where water can sit after rain
A decision framework that works better than lumen shopping
Here is the framework I use now when choosing solar spot lights for a yard.
1. Start with the target, not the light
Ask what you want to illuminate:
- Tree trunk or branching: narrow to medium beam
- Shrub mass: medium beam, softer edge
- Wall texture: wider beam or two lights crossed
- Path edge: low angle, avoid glare toward eyes
- Flag or tall feature: higher output and larger panel
2. Map the sun window before installation
Before staking anything permanently, watch the panel location for one day or use a sun-tracking app. I want at least 5 hours of strong sun for reliable evening performance. Four hours can work in summer. In winter, four hours with branch shade is not enough for consistent all-night output.
A shadow across even part of a small panel matters. Unlike a large rooftop array with bypass design and multiple modules, a tiny integrated panel has very little room to recover.
3. Choose the mode for runtime, not drama
High mode is useful for parties, short evening use, or dramatic highlighting. For normal daily landscape lighting, medium mode usually gives the better result. My dusk-to-midnight readings were more stable in medium mode, and the yard looked calmer.
If a light has automatic dimming after several hours, that can be a good feature rather than a flaw. The question is whether the dimmed level still lights the target.
4. Use distance as a dimmer
Moving the light from 8 feet to 5 feet from the target often improves the effect more than buying a brighter model. Because illuminance drops quickly with distance, a small placement change can make a large visual difference. In one wall test, moving the stake 24 inches closer increased the beam-center reading from 63 lux to 101 lux.
5. Hide the source, show the effect
The most expensive-looking setups in my test were not the brightest. They were the ones where I could not easily see the LED source. I tucked the light behind low plants, aimed it across texture, and avoided pointing it toward seating areas or windows. Glare makes solar lighting look cheap fast.
My practical installation checklist
Use this before you push the stakes into the ground:
Color temperature mattered more than I expected
Cool white beams looked brighter on the meter and to my eyes, but they were not always better. On brick and bark, warm white looked more natural. On gray stone, neutral white was crisp without feeling harsh. Very cool light made green shrubs look a little flat and theatrical.
For most homes, I prefer warm white around 2700K to 3000K for front beds, entries, and trees near seating areas. Neutral white around 3500K to 4000K can work for modern architecture, stone paths, and security-adjacent areas. I avoid mixing color temperatures in the same view unless there is a clear reason.
This is not only aesthetic. Light at night affects how comfortable a space feels. Medical and public-health researchers have studied nighttime light exposure and circadian effects; the NIH has published accessible summaries on light and sleep biology. Outdoor accent lighting should not behave like a stadium lamp. Aim it carefully, keep it out of windows, and use only as much as the scene needs.
What I would buy after this test
For most yards, I would choose solar spot lights with:
- A separate adjustable solar panel, if the bed has any shade
- At least two brightness modes
- A real IP65 or better ingress rating
- Warm or neutral white output, not harsh blue-white
- A replaceable or clearly specified rechargeable battery, when available
- A sturdy stake with a thick neck and adjustable knuckle
FAQ
How many lumens do I need for solar spot lights?
For a small shrub, address stone, or short ornamental tree, 100–300 lumens can be enough if the beam is aimed well and the target is not too dark. For taller trees, flagpoles, or second-story wall accents, 400–800 lumens may be useful. I would not choose by lumens alone. Beam angle, distance, surface color, and runtime matter just as much.
Why do my solar spot lights turn off before morning?
The usual causes are limited sun exposure, panel shade, dirty panels, high brightness mode, cold weather, or an aging battery. In my test, partial shade reduced observed runtime from about 10.5 hours to roughly 5.5–6 hours. Try cleaning the panel, switching to medium mode, and moving the panel to a sunnier location before replacing the light.
Are remote-panel solar spot lights better than all-in-one models?
They are better when the ideal light position and ideal sun position are not the same place. Around trees, fences, porches, and north-facing beds, remote panels are often worth it. All-in-one models are cleaner and simpler in open sunny areas, but they force a compromise: the light head and panel must share one location.
What IP rating should outdoor solar spot lights have?
For normal landscape use, I look for IP65 or better. That means the fixture is rated as dust-tight and protected against water jets under the IEC 60529 system. IP44 may survive mild exposure, but I am less confident using it near sprinklers, mulch splash, or wind-driven rain. No rating is a red flag if the light will live outside year-round.
Sources
- NREL PVWatts Calculator and solar resource modeling
- U.S. Department of Energy: How Does Solar Work?
- ASTM G173 reference solar spectral irradiance standard
- IEC 60529 ingress protection code overview