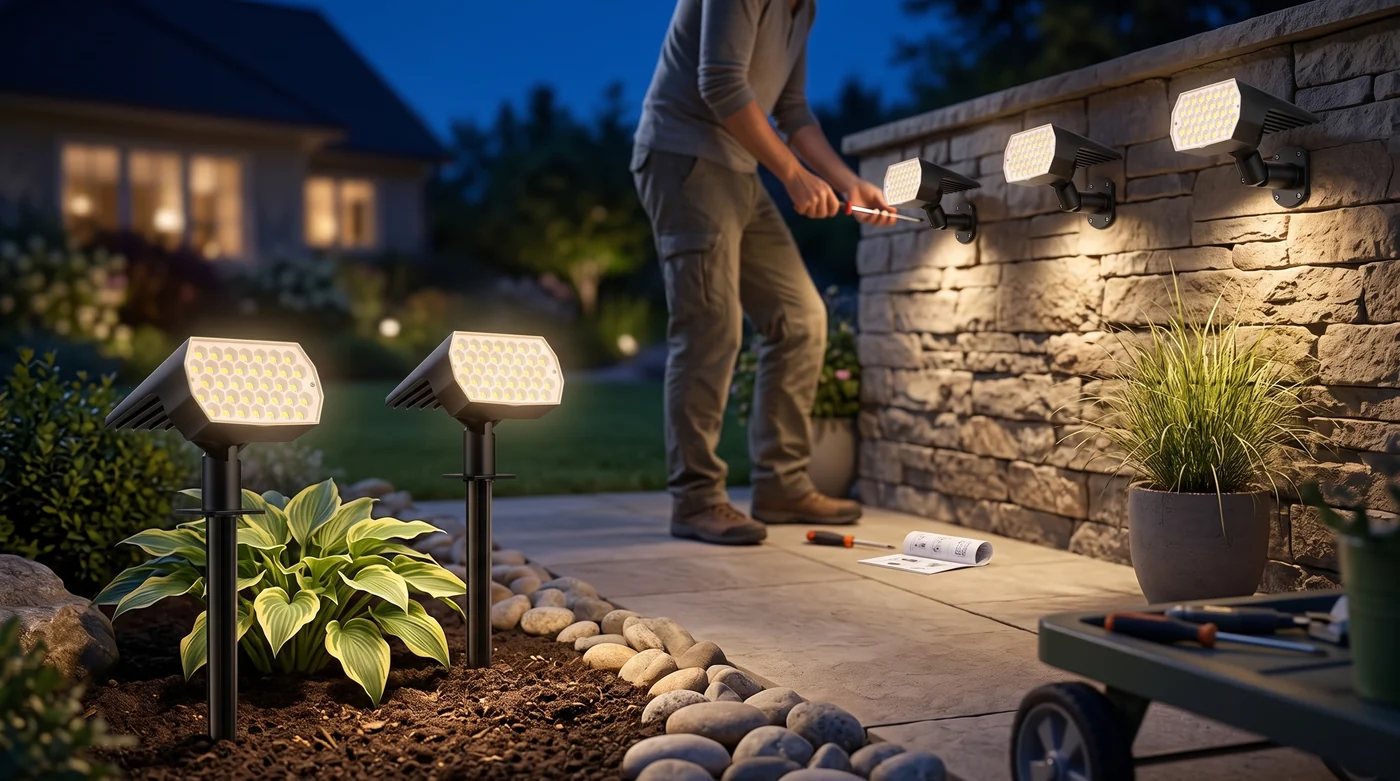
How to Install Solar Spot Lights in Your Garden and Outdoor Walls
Step 1: Select the Installation Site and Angle
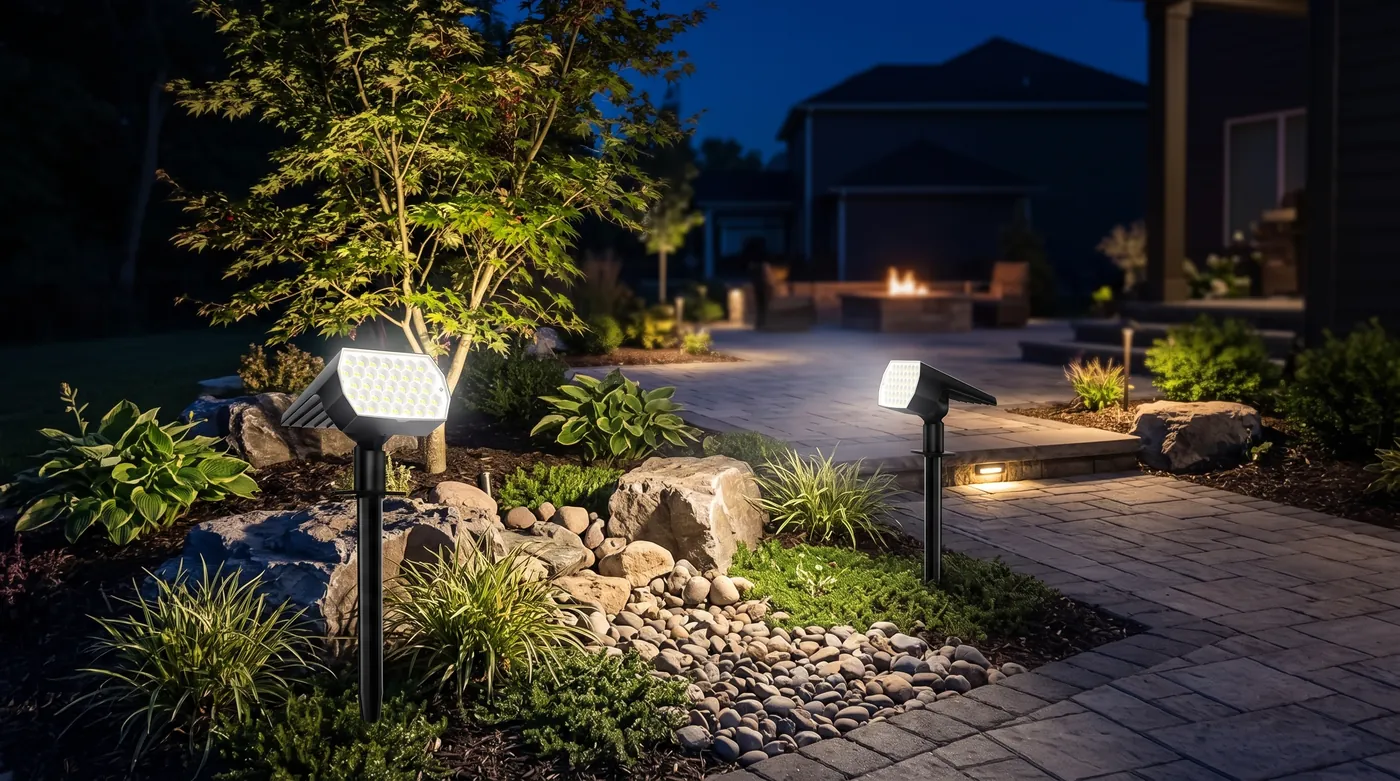
Begin by choosing a landscape location that receives unobstructed solar sunlight throughout daylight hours. High-efficiency polycrystalline silicon solar panels require direct sunlight to maximize their 2000 mAh battery capacity. Position fixtures maintaining a recommended distance of 6-10 feet between lights for proper visual overlap. Adjust the 120-degree adjustable head upward toward the sky while directing the LED beam toward your focal target. For additional mounting strategies, visit [the main guide]. If you are unsure how much sun a spot actually receives, watch it across a full day before committing. A location that looks bright at ten in the morning may fall into building shade by early afternoon, and every hour of shade translates directly into shorter runtime at night. South-facing exposures generally collect the most charge over the course of a day, while spots beneath eaves, dense tree canopy, or tall fences are the usual culprits behind disappointing performance.
Think about the beam target at the same time as the sun exposure, since the two often pull in different directions. The 120-degree adjustment range exists precisely to resolve that tension — panel tilted toward open sky, beam aimed at the tree, wall, or ornament you want lit. Setting both angles roughly during daylight and fine-tuning after dark on the first evening gives the best result with the least repositioning.
Step 2: Choose Ground Insertion or Wall Mounting
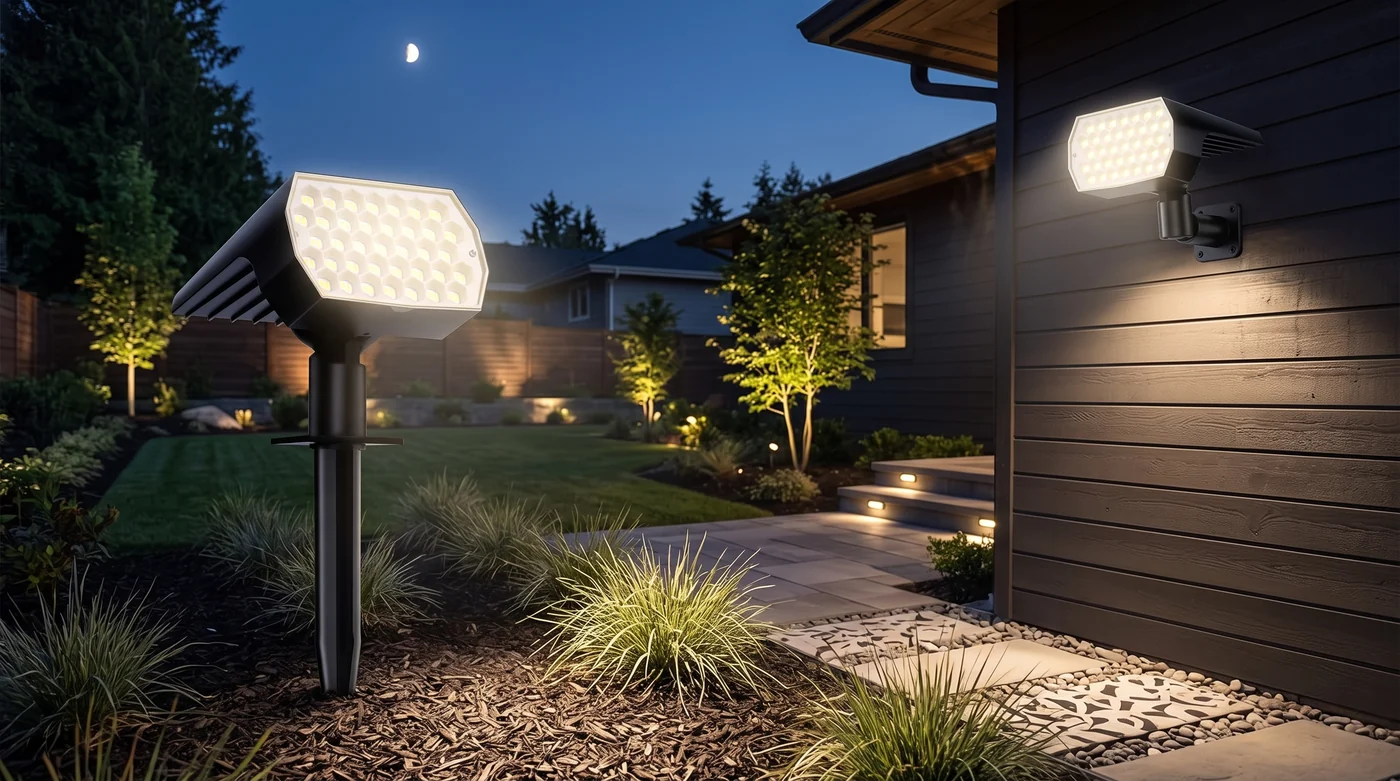
For garden or lawn installation, insert the ground stake into moist dirt to a recommended stake depth of 4-6 inches until firm. For exterior walls, wooden fences, or patio posts, select wall mounting mode. Mark your target holes on the mounting surface, drill pilot holes using a 1/4 inch drill bit, insert plastic anchors, and drive the included mounting screws tight to hold the bracket in place. Soil condition makes a real difference to ground installation. If the ground is dry and hard, water the area first or install after rain — forcing a stake into compacted soil risks bending it. Push straight down with steady pressure rather than hammering, and avoid rocky patches where the stake cannot reach full depth; a stake seated too shallow will lean over time as the soil shifts with watering and frost.
For wall mounting, height placement deserves a moment of planning. Mounting too low invites accidental knocks from foot traffic and mowers, while mounting very high limits how much the beam can be shaped against the wall. Check that the chosen spot leaves the solar panel a clear view of the sky once the fixture is bracketed in place — a wall mount tucked under a deep eave will hold the light securely and starve it of charge at the same time.
Whichever mode you choose, the decision is reversible — a fixture that starts on a ground stake can move to a wall bracket later as the garden changes, so the initial choice is a starting point rather than a commitment.
Step 3: Set Color Temperature and Test Dusk Sensor
Select your desired aesthetic by toggling through the 3 color lighting modes (3000K Warm White, 4500K Natural White, or 6500K Cool White). Test dusk-to-dawn operation by completely covering the solar panel with your hand to simulate nighttime. The 74 LED array will illuminate immediately at 600 lumens when dark sensor conditions are triggered.Read the full guide: The Complete Guide to Outdoor Solar Landscape Spot Lights
Give new fixtures a full day of direct sun before judging their performance. Units often arrive with partially drained batteries, so first-night runtime is not representative — the 6-14 hour range applies to a properly charged battery, not a fresh unboxing.
Revisit the setup seasonally rather than treating installation as one-and-done. The sun sits lower in winter, so a panel angle that worked in July may sit partly shaded in January, and a small tilt adjustment restores full charging. Wipe the panel surface occasionally with a damp cloth as well; a film of dust, pollen, or hard-water spotting builds up slowly and quietly cuts charging efficiency long before it is visible from a distance. These two habits — seasonal angle checks and an occasional panel wipe — are essentially the entire maintenance schedule, and they keep the dusk-to-dawn cycle running at full strength year after year.
Finally, run a simple full-cycle check during the first week. Confirm the lights come on within a few minutes of dusk, hold steady brightness through the evening, and shut off after sunrise. If one unit lags behind its neighbors, shade falling on its panel is the likely cause — revisit the site selection for that fixture before assuming a defect.