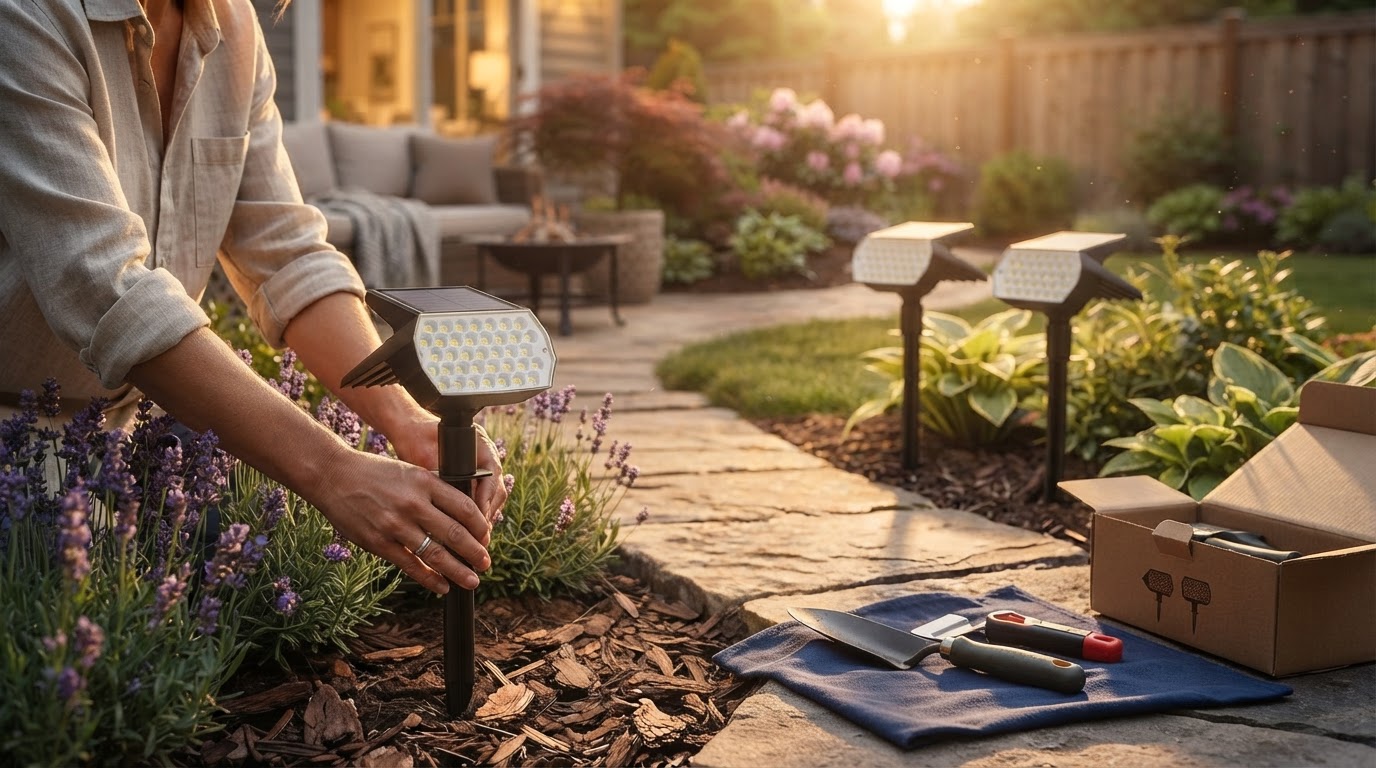
How to Install Solar Landscape Spotlights in 4 Easy Steps
How to Install Solar Landscape Spotlights in 4 Easy Steps
Adding outdoor accent lighting enhances your home's exterior beauty and increases nighttime visibility. Installing solar landscape lights is a straightforward process requiring no complex electrical wiring or professional installation.
For a comprehensive understanding of lighting strategies, explore the main guide on outdoor lighting design.
Step 1: Choose Your Spotting Angles and Surface
Identify key features in your yard such as trees, garden beds, or house entryways. Decide whether ground insertion or wall mounting best serves the area. Ensure the surface is cleared of thick debris.
Step 2: Select Your Color Temperature Mode

Photo by Artūras Kokorevas on Pexels
Before final placement, cycle through the 3 color lighting modes—Cool White, Warm White, or Natural White—to match your desired mood. Warm White complements wood and flowers, while Cool White emphasizes modern architectural masonry.
Step 3: Mount or Stake the Solar Fixture
Utilize the 2-in-1 installation feature:- For Ground Mounting: Attach the ground stake and press the unit firmly into damp soil or garden mulch to a depth of roughly 4-6 inches inches.
- For Wall Mounting: Position the bracket against your fence or wall, mark the holes, and secure the bracket using the included screws.
Step 4: Position Panel for Optimal Sunlight Charging

Photo by Jimmy Liao on Pexels
Adjust the 120-degree adjustable head so the polycrystalline silicon solar panel faces direct sunlight. Thanks to an energy conversion rate up to 20%, proper panel alignment allows the 74 LEDs delivering 600 lumens to operate continuously for 6-14 hours after charging. Automatic dusk to dawn operation will handle turn-on times automatically.
Read the full guide: How to Light Up Garden at Night: Complete Outdoor Solar Lighting Guide