Wall Mount vs Ground Stake Solar Lights for Side Yard Security: Which Installation Style Wins?
Should you wall mount or ground stake solar spotlights in your side yard? For optimal security in narrow side alleys, wall mounting at 6 to 8 feet is superior. It elevates solar panels above low wall and fence shadows, casts broad downward light across intruder blind spots, and keeps walkways clear of tripping hazards. Use ground stakes primarily in wider side yards with direct, unobstructed overhead sunlight.
Side-Yard Mounting Style Comparison Matrix
| Scenario / Factor | Wall Mount (6-8 ft Elevation) | Ground Stake (0 ft Soil Level) | Hybrid Setup (Fence Top / Wall + Ground) |
| --- | --- | --- | --- |
| Narrow Passages (< 5 ft wide) | Best: Keeps floor space completely clear of foot traffic and equipment. | Poor: High risk of being kicked, run over by mowers, or blocked by trash cans. | Good: High wall units light path, low stakes accent gate corners. |
| Deep Roof Eave Shadows | Best: Positions panels forward or above low wall shadows for max sun capture. | Poor: Roof overhangs block direct sun, reducing charge time significantly. | Moderate: Requires mounting top solar unit on outer fence rail. |
| Security Camera Interplay | Best: Downward 120° beam avoids direct lens glare, boosting night vision. | Moderate: Upward beam can cause harsh lens flare if aimed too high. | Good: Wall unit provides ambient fill; ground stake accents blind corners. |
| Intruder Deterrence & Blind Spots | Best: Eliminates shadow pockets behind 6 ft privacy fences and gates. | Fair: Creates long upward cast shadows behind low plants and trash bins. | Best: Complete top-down and ground-level illumination. |
| Installation Surface & Tools | Requires drill, anchors, and screws for brick, siding, or wood. | Tool-free: Inserts directly into soft lawn or garden bed soil. | Requires light drilling for fence/wall brackets plus soil insertion. |
Here is how wall mounting, ground staking, and a hybrid installation compare across real-world side yard security conditions.
Evaluating Wall Mounting vs. Ground Staking for Side Alleys
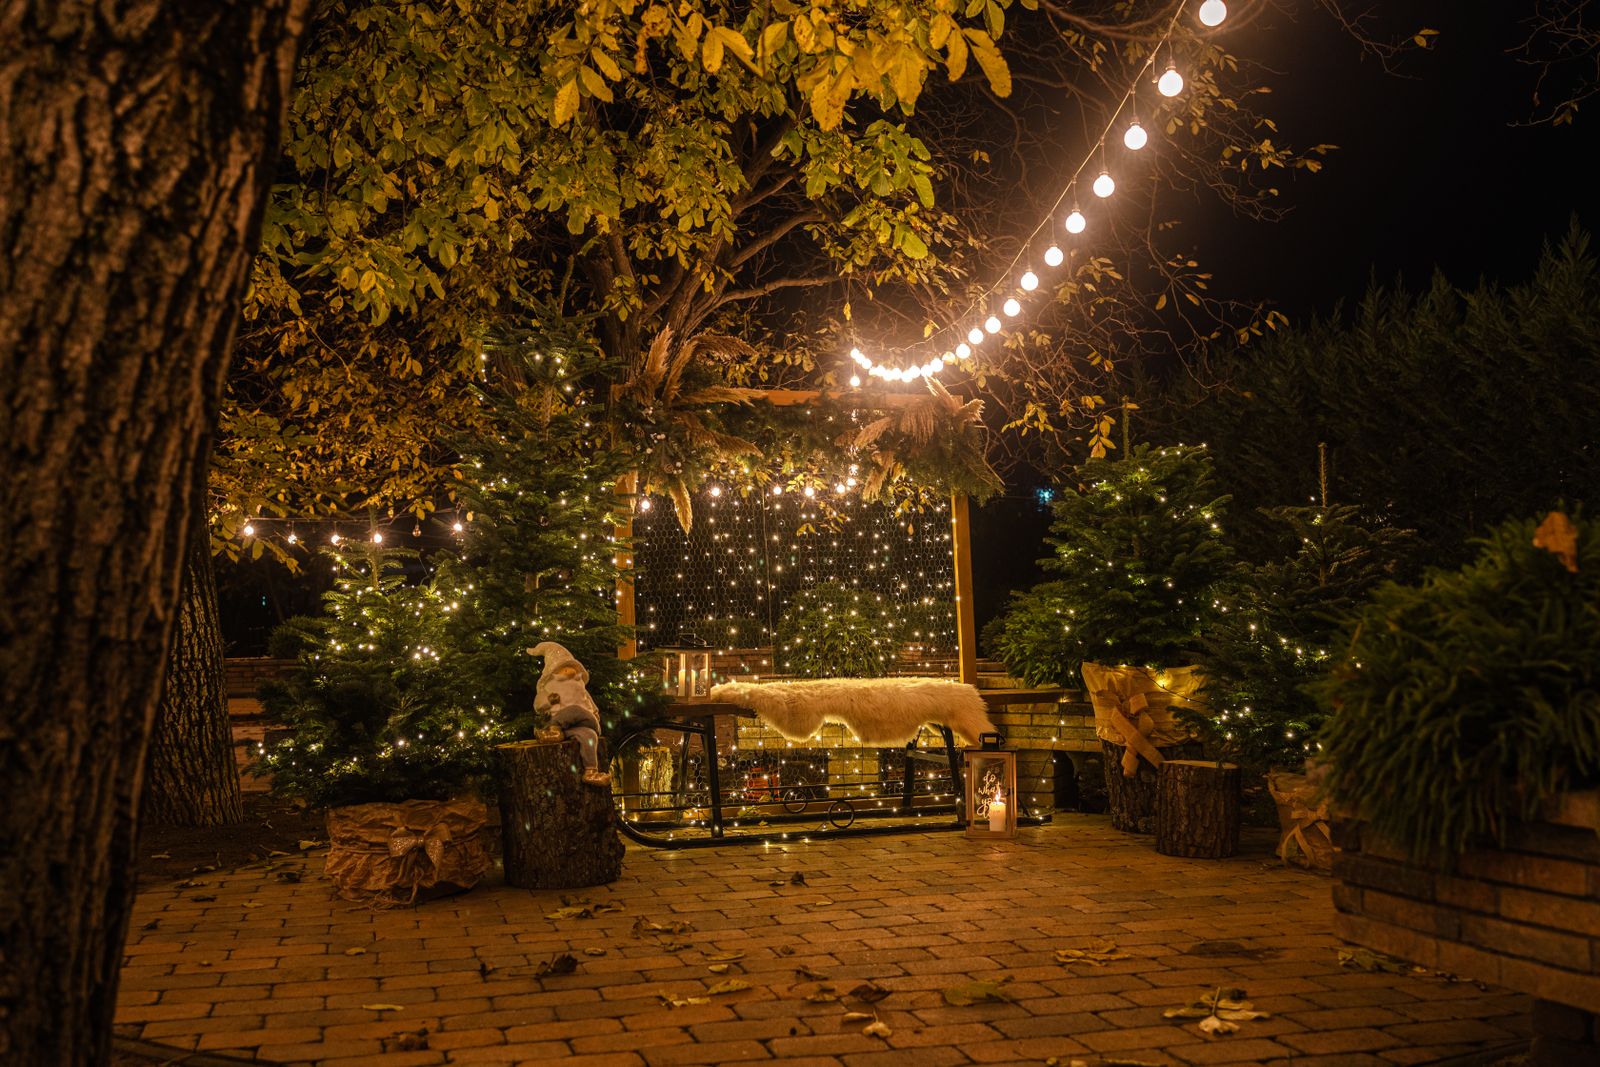
Photo by Radu Daniel ( MRD ) on Pexels
Every side yard presents unique architectural challenges. Evaluating the trade-offs of elevated mounting versus soil insertion helps prevent premature light failure and dark spots.
Our Expert Mounting Recommendation for Narrow Side Yards
For 80% of residential side yards, elevated Wall Mounting or Fence Mounting is the decisive winner.
Side yards are naturally narrow, shadow-prone corridors. Placing solar spotlights 6 to 8 feet high on an exterior house wall or along a 6-foot wooden privacy fence maximizes daily solar panel absorption while casting a wide, downward safety beam that leaves zero dark hiding spots along property lines.
To achieve this flexibility without buying multiple fixtures, select a high-output 2-in-1 solar spotlight equipped with a 120-degree adjustable head, 20% conversion polycrystalline solar panels, and 74 bright LED beads (600 lumens). This dual-mount design lets you secure high wall locations today and transition to ground staking if your landscape layout changes tomorrow.
Pro Tip: Optimizing Eave Clearance, Angle & Light Color Mode
When setting up perimeter security in narrow side alleys, small installation adjustments yield massive gains in runtime and camera visibility:
Critical Side-Yard Lighting Failures & How to Avoid Them
Side yard solar installations fail most frequently due to poor positioning rather than fixture hardware limitations. Here are the top failure modes homeowners experience—and how to bypass them.
Mounting Selection Decision Flowchart
- Is your side yard passage narrower than 5 feet or routinely blocked by trash cans and gates? → Yes: Choose Wall / Fence Mount at 6-8 feet elevation to clear floor obstacles.. No: Proceed to next assessment question.
- Does a roof eave shade the wall all day long while the ground receives direct sun? → Yes: Choose Ground Stake angled toward open sky, or mount directly to top fence rail.. No: Proceed to next assessment question.
- Is your primary goal eliminating dark blind spots for security cameras? → Yes: Choose Wall Mount at 7 feet height set to 6000K Cool White aimed 45° downward.. No: Ground Stake or Hybrid mounting will perform excellently for landscape aesthetics.
Action Plan: Implementing Your Side Yard Security Lighting
Your decision: Determine whether your side yard requires elevated wall mounting (for narrow paths and eave clearance) or ground staking (for wide open sun paths).
Do this next: Audit your side yard between 11:00 AM and 2:00 PM to identify non-shaded wall or fence zones. Choose high-output 2-in-1 solar spotlights with 20% conversion efficiency to ensure continuous 6 to 14 hour illumination regardless of season.
- Read next: How to Eliminate Dark Zones in Perimeter Lighting
Nacinic 2-in-1 Outdoor Solar Spotlights (74 LEDs, 600LM, 3 Color Modes) provide complete mounting flexibility with included ground stakes, wall brackets, and 120-degree adjustable heads.
Take these concrete steps today to transform your side yard into a bright, secure, and energy-efficient perimeter zone.
Core Principles of Side Yard Solar Security Lighting
Keep these essential spatial and hardware principles in mind when planning your perimeter lighting:
Visualizing Side-Yard Light Spread and Panel Elevation
Understanding how elevation affects beam dispersion and panel sun access is key to eliminating dark security zones.
Installation & Sunlight Testing Schedule
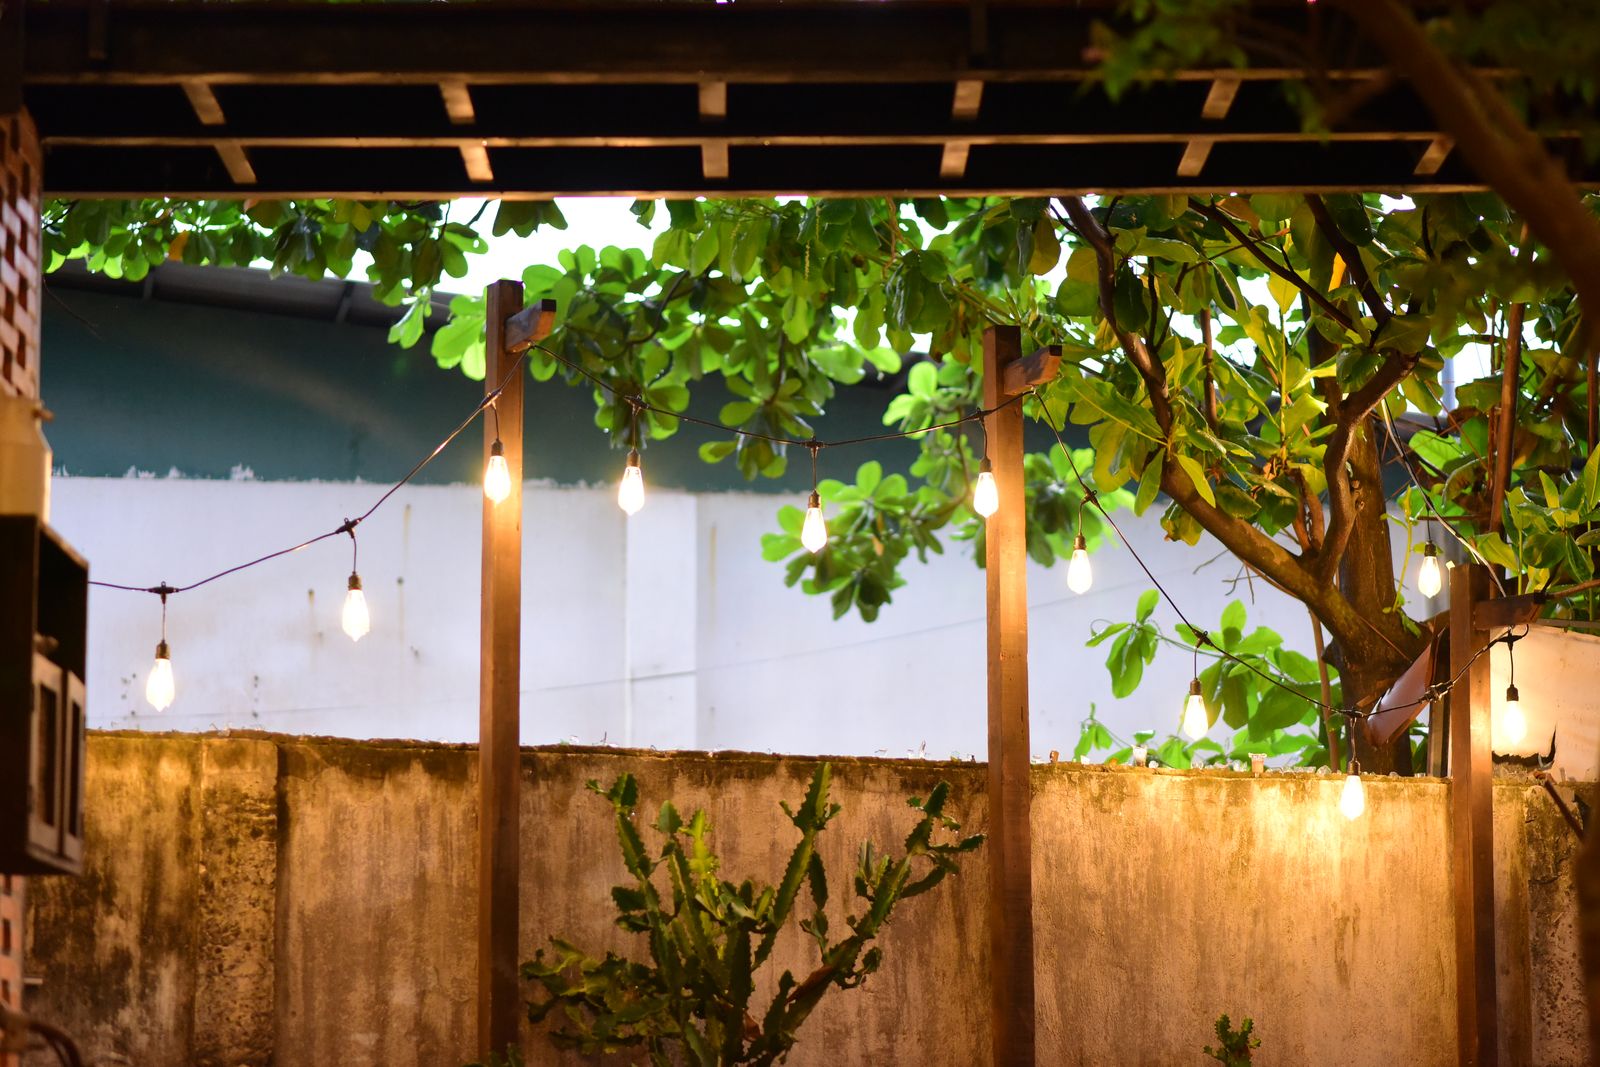
Photo by Sóc Năng Động on Pexels
- Day 1 (Morning - 10:00 AM) — Walk your side yard corridor. Mark wall and fence zones that receive unblocked direct sunlight.
- Day 1 (Midday - 1:00 PM) — Check roof eave shadow boundaries. Mark mounting height locations at least 18 inches below the shadow edge.
- Day 1 (Afternoon - 4:00 PM) — Unpack your 2-in-1 solar spotlights. Set switches to desired lighting mode (Cool, Warm, or Natural White) and place in full sun for initial 8-hour charge.
- Day 2 (Installation) — Mount wall brackets at 6-8 feet using included screws, or insert ground stakes into unshaded soil. Adjust spotlight heads 45 degrees downward.
- Night 2 (Security Audit) — Review light coverage after dusk. Verify security camera feeds for zero glare and full pathway clarity.
Pre-Installation Side Yard Security Assessment Checklist
- [ ] Measure side yard passage width to ensure ground stakes won't obstruct foot traffic, lawnmowers, or trash cans.
- [ ] Observe sunlight exposure between 10:00 AM and 2:00 PM to identify roof eave shadow boundaries.
- [ ] Inspect exterior wall material (brick, vinyl siding, stucco, or wood fence) to select appropriate mounting tools.
- [ ] Verify security camera sightlines to prevent direct beam glare from adjustable spotlight heads.
- [ ] Confirm fixtures feature IP65 weatherproofing to withstand roof eave water runoff, rain, and snow.
Choosing the Right Setup for Specific Side Yard Layouts
Selecting between wall mounting, ground staking, or a hybrid layout depends on side yard width, fence height, wall construction, and daily direct sun patterns.
Best choice for
- Wall Mount at 6-8 Feet Height — Completely clears floor space for walking, trash storage, and gate clearance while casting broad downward light.
- Top-Rail Fence Mount or Hybrid Setup — Moves solar panels away from house wall shadows to capture open sky sunlight across wooden privacy fences.
- Ground Staking — Allows easy placement along garden bed borders to uplight trees, shrubs, and flagstones without wall drilling.
- Avoid ground staking in narrow side yards where lawnmowers, pets, or heavy foot traffic frequently pass.
- Avoid wall mounting directly under deep roof overhangs where direct sunlight cannot reach the solar panel.
- Hybrid Mount Layout — Mount one 2-in-1 solar spotlight high on a wall for pathway safety and ground-stake a second unit to highlight side garden features.
Recommended 2-in-1 Solar Spotlights for Versatile Side Yard Security
For side yard lighting that adapts to any architectural setup, choose a flexible 2-in-1 solar spotlight that supports both wall mounting and ground staking.
Real-World Side Yard Lighting Case Studies
Case Study 1: Brick Siding with 4-Foot Wide Alleyway — The homeowner installed wall-mounted solar spotlights at 7 feet height using masonry wall anchors. Setting the fixtures to Cool White (6000K) provided 600 lumens of continuous downward safety light across the narrow path without blocking gate access.
Case Study 2: Deep Eave Shadows on Main House Wall — Because the house roof overhang shaded the wall, the homeowner mounted the 2-in-1 solar spotlights onto the outer wooden privacy fence posts. This gave the polycrystalline solar panels unblocked South sky sun exposure, delivering 10+ hours of continuous light.
Case Study 3: Combination Side Garden and Pathway — Using a hybrid setup, the homeowner wall-mounted one spotlight near the side entrance door for security and ground-staked a second spotlight set to Warm White (3000K) to accent garden plants.
Here is how homeowners solved common side yard security and lighting challenges using 2-in-1 solar spotlights.
Security Camera Compatibility & Dusk-to-Dawn Operation
Integrating solar spotlights with perimeter security cameras requires careful attention to light direction and color output. When light beams point directly toward camera lenses, infrared night vision sensors become blinded by severe lens flare. By wall-mounting solar spotlights at 6 to 8 feet and utilizing their 120-degree adjustable heads to direct light downward at a 45-degree angle, you illuminate intruder ground movement while keeping direct glare out of camera sensors.
Automatic dusk-to-dawn sensors automatically activate the 74 high-power LEDs as ambient light drops. Paired with Cool White (6000K) or Natural White (4000K) modes, this output delivers high-contrast illumination that helps security cameras record crisp, clear footage.
Solar Conversion & Weather Protection (IP65)
Side yards frequently experience concentrated water runoff from roof eaves and rain gutters. Solar spotlights installed in these environments must withstand continuous moisture, splashback, and freezing temperatures.
With an IP65 waterproof rating, sealed battery compartments, and weatherproof housing, high-quality outdoor solar spotlights operate reliably through torrential rain, snow, wind, and winter frost. Furthermore, advanced polycrystalline silicon solar panels achieving up to 20% energy conversion ensure that even during shortened winter daylight hours, solar batteries charge effectively to deliver 6 to 14 hours of continuous light on a single charge.
Explore Related Perimeter Security Guides
Expand your home perimeter lighting knowledge with these practical guides:
- How to Eliminate Dark Zones in Perimeter Lighting
- Best Solar Spotlights for Fence Line Security: A Homeowner's Guide
- Positioning Solar Security Spotlights for Maximum Beam Coverage
Frequently Asked Questions: Wall Mount vs. Ground Stake Solar Lights
Get fast answers to common homeowner questions about side yard solar spotlight placement and operation.
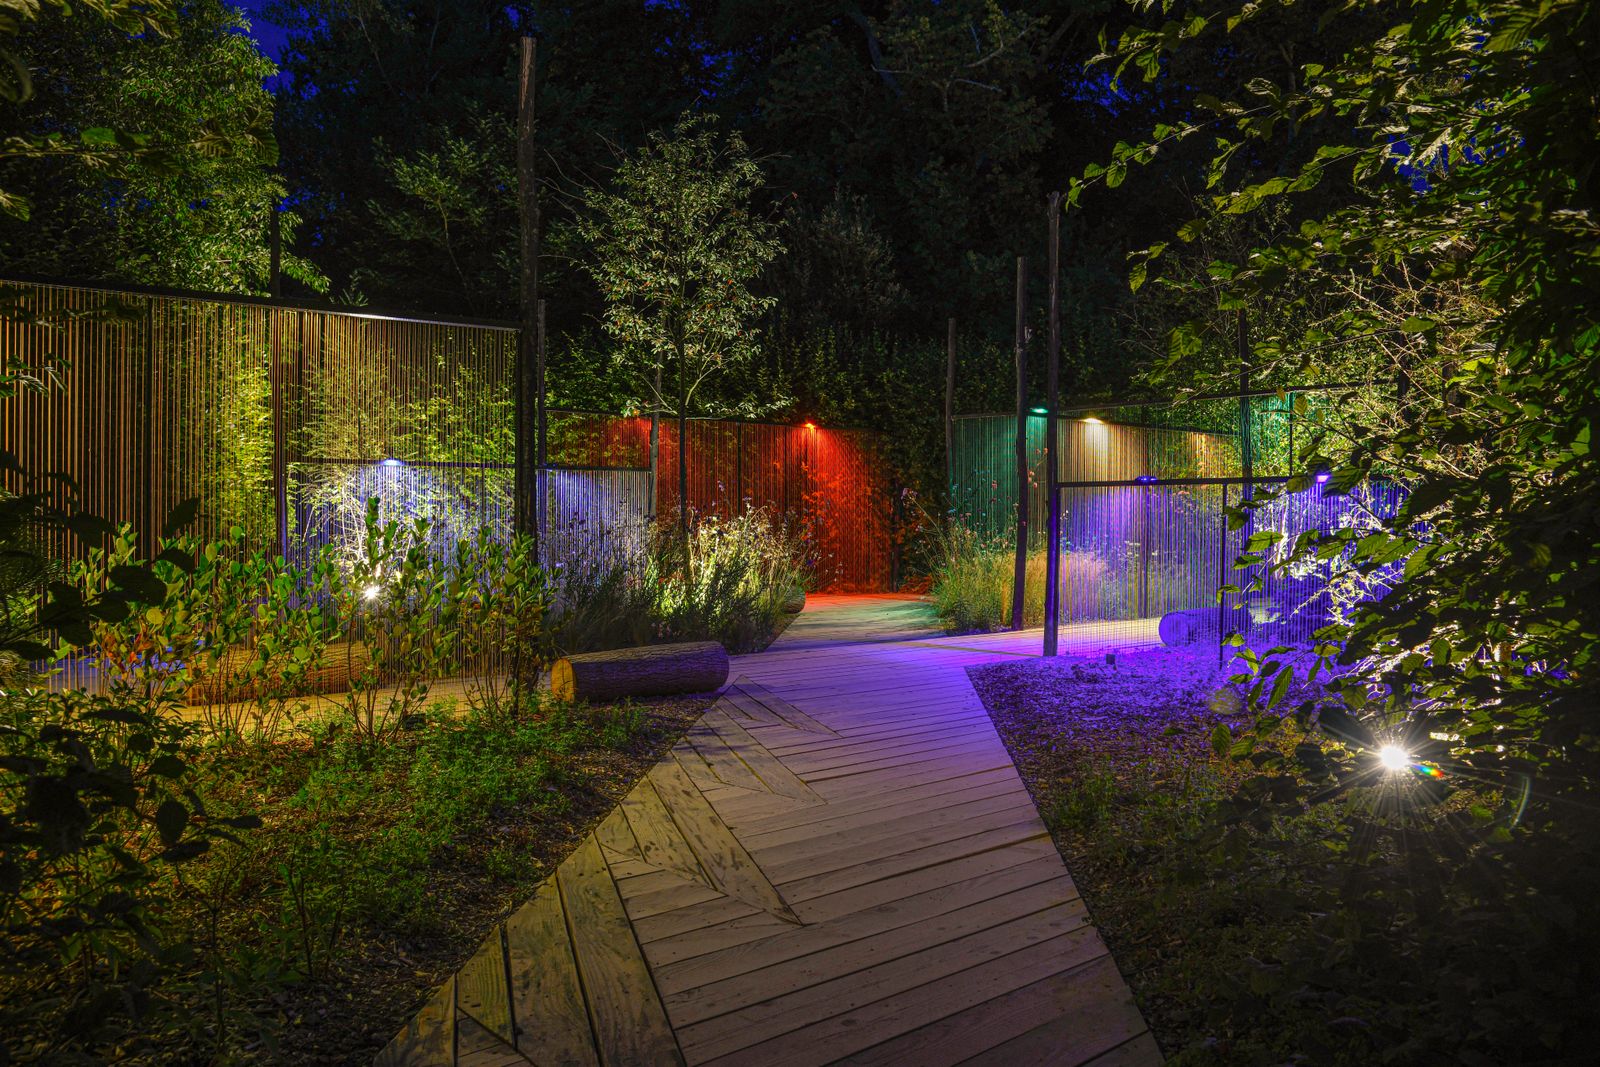
Cover photo by Thierry coulon on Pexels.